Whether you own a modern student instrument or an important antique violin, cleaning it correctly is essential. At Tim Wright Fine Violins, we clean and maintain hundreds of violins, violas and cellos every year. The guide below explains how we recommend caring for your instrument at home, and when it's safest to leave the job to a professional luthier.
What you'll need
- Clean microfibre or lint-free cloth
- Separate cloth for strings
- Good lighting
- Cotton bud or tweezers
1. How to clean a violin, viola or cello
First of all, remember that it’s better never to have to do a big clean on your instrument – washing your hands before you play will go a long way towards making sure it stays nice and clean. Always give the instrument and strings a quick wipe with a clean, dry cloth before putting it back in the case. Over time, however, a build-up of rosin and the impact of heavy practice (we’re assuming the best here!) means that your instrument might benefit from a gentle clean.
The best way to do this is to clean your violin carefully with a dry, lint-free cloth. For particularly stubborn marks, lightly dampening the cloth with water or perhaps even a tiny bit of saliva are your best options. Clean carefully, making sure to check for any varnish colour coming off on the cloth: stop immediately if you see this! New student instruments tend to have a very thick layer of varnish which will not budge when cleaning and so these can take a little more vigour as you go. A great design feature really given these are often the instruments that need the most help!
If there's anything stuck in the pegbox, a cotton bud or tweezers can be useful for working it free.
Some instruments have particularly soft varnish which is much more vulnerable to cleaning: you will probably be aware if this the case for your instrument as the varnish will tend to be more prone to dents, scratches, and chips. The most extreme versions of soft varnish can seem to gather dirt, creating a slightly gummy top layer of a darker colour in places. Instruments with especially soft varnish are best left to the luthiers, as of course are instruments of high value. Never use polish or any other chemical on your instrument: this is another job very much best left to the luthiers.
2. How to clean rosin from strings
Over time, the rosin from your bow will build up on the strings, preventing them from resonating properly. Another way to tell if it’s time to get cleaning is if a white film is visible on the strings. Just like cleaning the instrument, rosin can also be cleaned off with a soft, dry cloth – doing this is one of my least favourite jobs in the shop as it often produces a particularly unpleasant screeching sound! Try it, you’ll see what I mean…
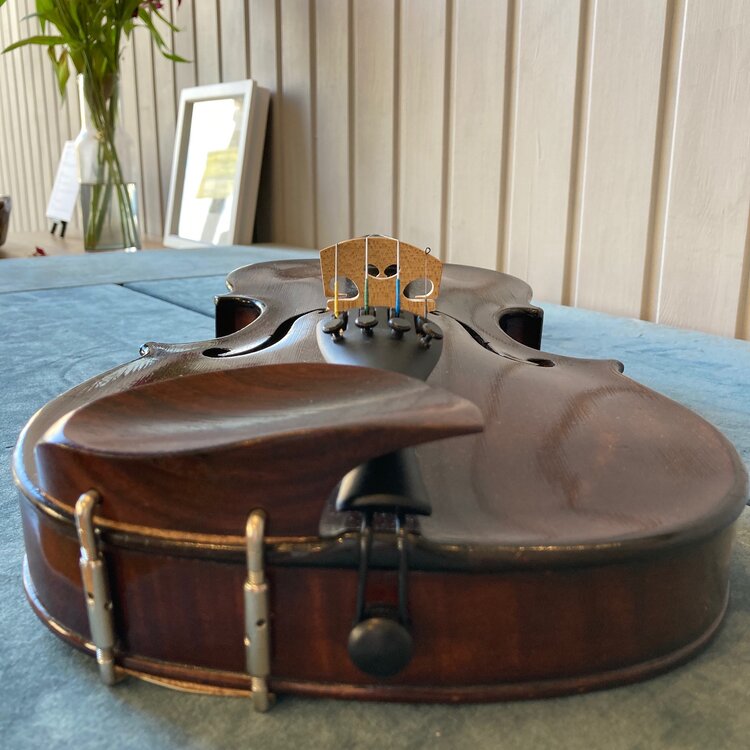
3. How to clean a violin or viola chinrest
The chinrest is a part of the instrument that is often neglected in a cleaning regimen; however, it can become quite dirty over time. As it touches your face, it is important to keep the chinrest clean by giving it a quick rub with a clean cloth after each time you play. Getting into the habit of wiping your chinrest and strings before putting the instrument in its case will help to ensure your strings last longer and that your chinrest remains clean.
If you feel that the chinrest requires a more thorough clean, we recommend removing it from the instrument before giving it a clean with a cloth dampened with a little hot, soapy water. Dry it, leave it until the cork on the underside is completely dry and then check very carefully for any remaining moisture before reattaching the chinrest to your instrument.
As a side note, keeping the chinrest clean may help to avoid the painful red mark which often graces the necks of violinists and violists. Covering the chinrest with a cloth, trying a chinrest with a different fit, changing to a chinrest of a different material, or swapping to one with titanium barrels are also all worth trying if this issue is causing irritation.
4. How to clean a violin fingerboard
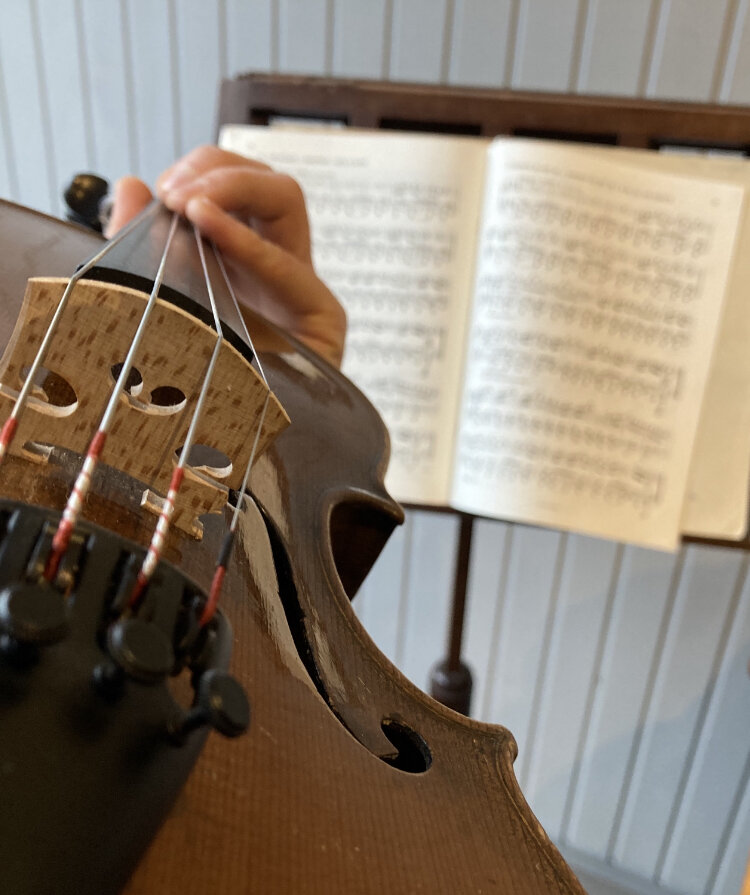
The fingerboard of your instrument is another area where grime can build up over time. The strings usually get in the way of cleaning the fingerboard thoroughly, however, these can be carefully tucked aside to give it a good scrub with a clean, dry cloth. Take one string at a time, slightly loosen the tension using the peg and then shift the loosened string over to rest on top of one of its neighbours. Clean the exposed area of the fingerboard, tune up the string and then repeat with the other three strings. Taking the tension off the strings one by one ensures that the other strings keep the bridge and soundpost in place.
On student instruments, old stickers often leave a gummy residue on the fingerboard: this can be removed with a very small amount of adhesive cleaner, applied with great care so as not to get any on the body of the violin. This is an approach I would recommend only for contemporary student instruments – as always, a more valuable instrument should only go near cleaning chemicals inside a luthier’s workshop.
5. How to clean your bow
Rosin can build up on the underside of your bow, leaving a sticky white residue. This can be cleaned off with a soft, dry cloth. Discolouration on the hair is usually caused by a build up of rosin and oil from the skin. This is only really a problem once the hairs start to clump together: this can sometimes be resolved by gently flicking through the hairs with your thumbnail, though eventually a rehair is the best solution!
6. What not to use
Never use alcohol, excess water, furniture polish, baby wipes, household cleaners or abrasive cloths on your violin, viola or cello. These can permanently damage the varnish.
7. FAQs
Can I use alcohol on violin strings?
This isn't something we do, but there are a number of interesting articles online by the various string manufacturers which explain how to do this.
How often should I clean my violin?
Every time you play it! A quick clean every time you put it away is very effective in preventing dirt from building up.
Should I clean antique violins differently?
Generally speaking, new student instruments are very robust and the easiest to clean. Antique instruments require more gentle handling, especially if you know the varnish to be soft. A new handmade instrument may also have fairly soft varnish at the beginning - your luthier will be able to guide you regarding care of a new instrument.
When should I see a luthier instead?
If in doubt, err on the side of caution with cleaning string instruments! Sticky or soft varnish is best taken care of in the workshop, as are valuable antique instruments. Deep rosin build up will not go away with a gentle wipe, and so this is also best done when your instrument is next with a luthier.
How much does it cost to get my violin, viola or cello cleaned?
This depends on where you are, but in our workshop a complete clean of a violin or viola costs £58, and cleaning a cello costs £116. This will always include a thorough check over the condition of the instrument. The process involves taking off the strings - it's as easy to put on new strings for you at this stage as to put the old ones back, so let your luthier know if you'd like to change strings at this point. Finally, a clean means taking off and then resetting the bridge, meaning the instruments will be in its happiest state when returned to you!
8. Final advice
Regular cleaning isn't just about appearance: rosin build-up can dampen the strings' vibration, accumulated dirt can wear the varnish over time, and neglect can make later cleaning much more difficult. Of all of the tips above, remembering to give your instrument and strings a quick wipe before putting it back into the case is by far the most important. Doing this every time will help to keep the big cleaning jobs to a minimum!